Database Setup Guide
PostgreSQL Installation on Windows VM
- Go to the PostgreSQL Windows download page.
- Select PostgreSQL version 17.
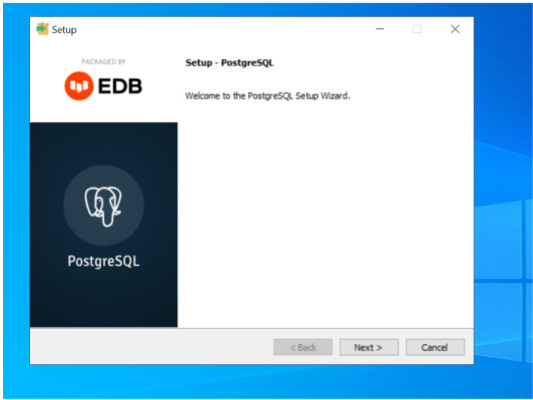
- Download the PostgreSQL installation wizard and start it up.
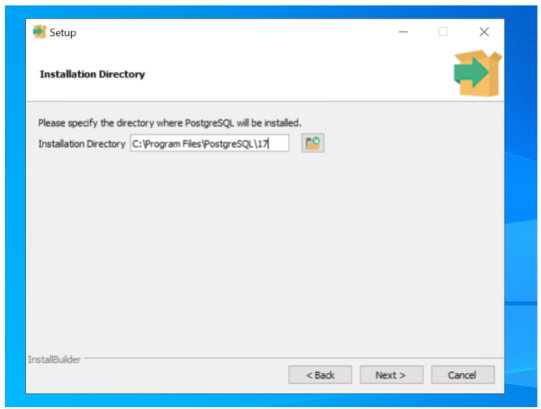
- Choose the default directory or customize as required.
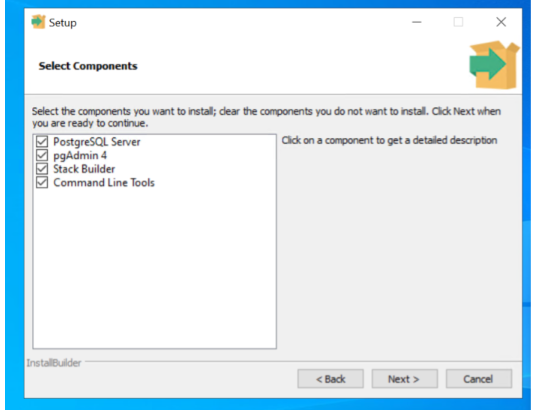
- All the components will be selected by default; keep them as is and click "Next" to continue.
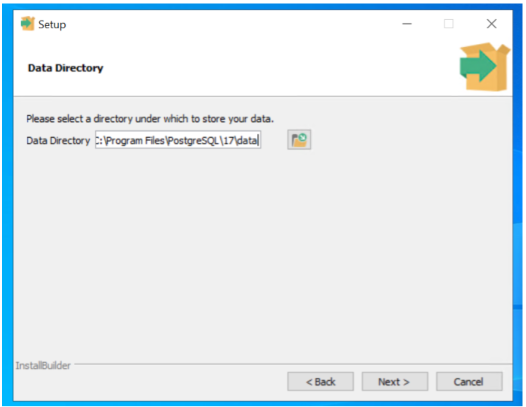
- Choose the default Data directory or change as required.
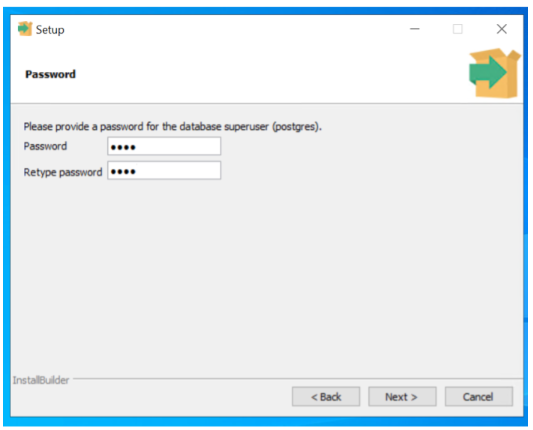
- Create a password for postgres (superuser) – This password will be used in the connection string for connecting to the database:
postgresql://postgres:password@localhost:port/database
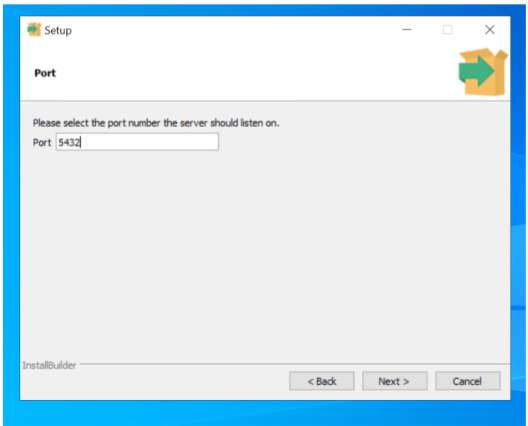
- Set the port number (default: 5432) or change if required.
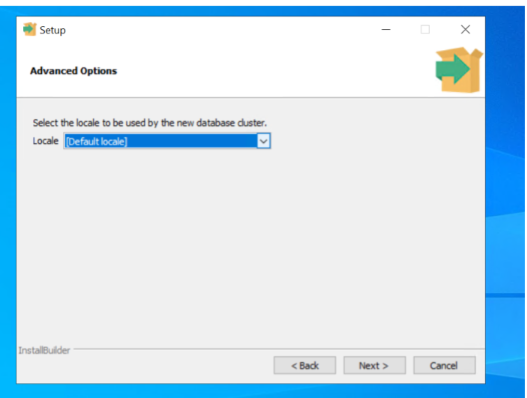
- Use the Locale field as desired (default is OS locale). Leave this as is and click next to continue.
- Click Next to continue.
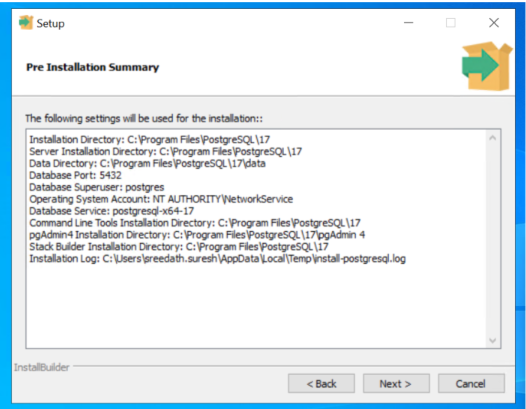
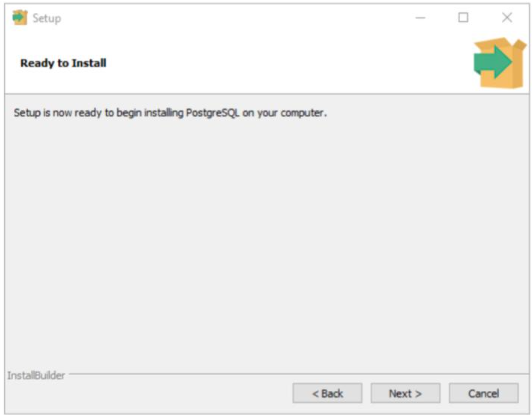
- Click Next to start the installation.
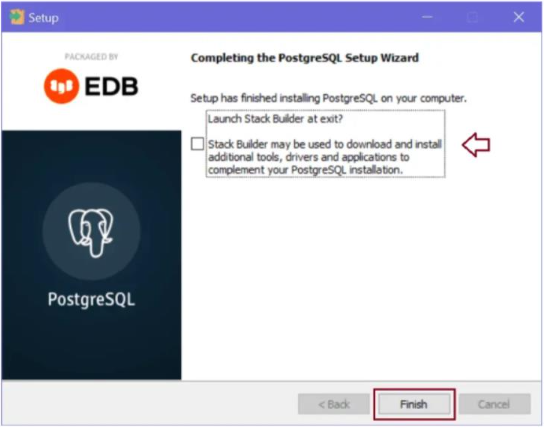
- After installation, a checkbox will ask if you wish to install additional tools with Stack Builder.
- (Optional) You can download additional tools for this PostgreSQL installation but it is not necessary.
PostgreSQL Installation on Linux
Installation using PostgreSQL Official Packages
- Go to the PostgreSQL Linux download page.
- Select your OS distribution and follow the instructions to get the appropriate installation script.
- Choose PostgreSQL version 17.
- Example for RHEL9/CentOS9:
sudo dnf install -y https://download.postgresql.org/pub/repos/yum/reporpms/EL-9-x86_64/pgdg-redhat-repo-latest.noarch.rpm
sudo dnf install -y postgresql17-server
sudo /usr/pgsql-17/bin/postgresql-17-setup initdb
sudo systemctl enable postgresql-17
sudo systemctl start postgresql-17
Installation from Source
- Download and extract source:
wget https://ftp.postgresql.org/pub/source/v17.3/postgresql-17.3.tar.gz tar -xzf postgresql-17.3.tar.gz cd postgresql-17.3 - Install required build dependencies:
sudo dnf install libicu-devel readline-devel perl-FindBin - Compile and install:
./configure make sudo make install - Initialize data directory and configure permissions:
sudo mkdir /usr/local/pgsql/data sudo useradd -r -s /bin/bash postgres sudo chown -R postgres:postgres /usr/local/pgsql/ sudo mkdir -p /home/postgres sudo chown postgres:postgres /home/postgres sudo -u postgres /usr/local/pgsql/bin/initdb -D /usr/local/pgsql/data - Start PostgreSQL server and verify installation:
sudo -u postgres /usr/local/pgsql/bin/pg_ctl -D /usr/local/pgsql/data start
psql --version
Recommended: Set Up PostgreSQL as a systemd Service
- Create the systemd service file:
Paste the following:
sudo nano /etc/systemd/system/postgresql.service[Unit] Description=PostgreSQL database server After=network.target [Service] Type=forking User=postgres Group=postgres ExecStart=/usr/local/pgsql/bin/pg_ctl start -D /usr/local/pgsql/data -s -l /usr/local/pgsql/data/serverlog -o "-p 5432" ExecStop=/usr/local/pgsql/bin/pg_ctl stop -D /usr/local/pgsql/data -s -m fast ExecReload=/usr/local/pgsql/bin/pg_ctl reload -D /usr/local/pgsql/data -s Environment=PGDATA=/usr/local/pgsql/data [Install] WantedBy=multi-user.target - Enable and start the service:
sudo systemctl enable postgresql.service
sudo systemctl restart postgresql.service
journalctl -u postgresql.service -f  # (to view logs)
Additional Configuration (Remote Access, Password Setup)
- Allow connections from other hosts:
- Edit
postgresql.conf:Set the following values:sudo nano /usr/local/pgsql/data/postgresql.conflisten_addresses = '*' max_connections = 500
- Edit
- Set postgres user password:
In psql prompt:
sudo -u postgres /usr/local/pgsql/bin/psqlalter user postgres password '<yourpassword>'; - Enable password authentication for remote access:
- Edit
pg_hba.conf:Add this line:sudo nano /usr/local/pgsql/data/pg_hba.confhost all all 0.0.0.0/0 md5
- Edit
- Restart PostgreSQL to apply changes:
sudo systemctl restart postgresql.service journalctl -u postgresql.service -f - If firewall is active, open port 5432:
sudo firewall-cmd --permanent --add-port=5432/tcp #Example for RHEL
sudo firewall-cmd --reload
Note: Adjust paths and version numbers as needed for your environment.
Environment Configuration
Create a .env file by copying the content from .env.example and set the following variables such as host, username, and password to connect to the required PostgreSQL DB:
# GIVE YOUR POSTGRESQL CONFIG
POSTGRESQL_HOST=localhost
POSTGRESQL_PORT=5432
POSTGRESQL_USER=postgres
POSTGRESQL_PASSWORD=postgres
# Disables ssl in postgres connection string for inference
DISABLE_SSL_FOR_CHAT_CONNECTIONS=True

# Database name to be used
DATABASE=agentic_workflow_as_service_database
FEEDBACK_LEARNING_DB_NAME=feedback_learning
EVALUATION_LOGS_DB_NAME=evaluation_logs
RECYCLE_DB_NAME=recycle
LOGIN_DB_NAME=login
ARIZE_TRACES_DB_NAME=arize_traces
# keep it 'low' for local devices, change it to 'medium' or 'high' for Server/VM
CONNECTION_POOL_SIZE="low"
Note: For connecting to Azure PostgreSQL Database, set the SSL variable as
False:DISABLE_SSL_FOR_CHAT_CONNECTIONS=FalseNote: The required PostgreSQL databases are automatically created according to the names given in the
.envfile. Hence, different database instances can be created by changing the names in the.env.
Redis Installation on Windows
- Go to the redis-windows GitHub releases page.
- Download the ZIP build for Redis 8.2.1:
Redis-8.2.1-Windows-x64-msys2.zip - Extract the ZIP file to a folder of your choice.
- Open
redis.confin the same folder and set the following parameters:bind 0.0.0.0 requirepass <password> - Open PowerShell or CMD inside that folder.
- Start Redis server:
redis-server.exe redis.conf - Allow connection to Redis through the firewall:
netsh advfirewall firewall add rule name="Redis" dir=in action=allow protocol=TCP localport=6379
Redis Installation on Linux
Install dependencies (per OS)
Use the command for your distribution:
- Red Hat/CentOS/Fedora:
sudo dnf install gcc make openssl-devel tcl libtool autoconf automake -y - Debian/Ubuntu:
sudo apt install build-essential libssl-dev tcl-dev libtool autoconf automake -y - SUSE/OpenSUSE:
sudo zypper install gcc make libopenssl-devel tcl libtool autoconf automake -y
Build and install from source
- Download Redis 8.2.1:
wget https://github.com/redis/redis/archive/refs/tags/8.2.1.tar.gz - Extract and build:
tar xvf 8.2.1.tar.gz
cd redis-8.2.1
make
sudo make install
Configuration (redis.conf)
- Edit
redis.confto set the following values:Findbind 0.0.0.0 requirepass <password> dir /var/lib/redispidfileinredis.confand edit it like below:pidfile /var/run/redis/redis.pid - Copy the config and set permissions:
sudo mkdir -p /etc/redis /var/run/redis /var/lib/redis
sudo chmod 700 /var/lib/redis
sudo cp /home/projadmin/setup/redis-8.2.1/redis.conf /etc/redis/redis.conf
sudo chown -R projadmin:projadmin /etc/redis/ /var/run/redis /var/lib/redis
Note:
projadminis the Linux VM username for RHEL9 VM and it differs according to the type of Linux OS.
Optional: Set Up Redis as a systemd Service
- Create a systemd service file:
Paste in the following:
sudo nano /etc/systemd/system/redis.service[Unit] Description=Redis In-Memory Data Store After=network.target [Service] User=projadmin Group=projadmin # Create /run/redis at service start, owned by the service user RuntimeDirectory=redis RuntimeDirectoryMode=0755 # Tell systemd where the PID file will be (under /run) PIDFile=/run/redis/redis.pid # Ensure Redis uses systemd supervision and stays in foreground WorkingDirectory=/var/lib/redis ExecStart=/usr/local/bin/redis-server /etc/redis/redis.conf ExecStop=/usr/local/bin/redis-cli -a <password> shutdown Restart=always [Install] WantedBy=multi-user.target
Note:
UserandGroupvalues depend on the username of the Linux VM.
- Start and enable Redis service:
sudo systemctl start redis.service sudo systemctl enable redis.service - If firewall is active, open port 6379:
sudo firewall-cmd --permanent --add-port=6379/tcp #Example for RHEL
sudo firewall-cmd --reload
Note: The firewall command differs based on the type of Linux OS.
Note: Update
Userand<password>in your redis configuration and service file to match your security and environment needs.